
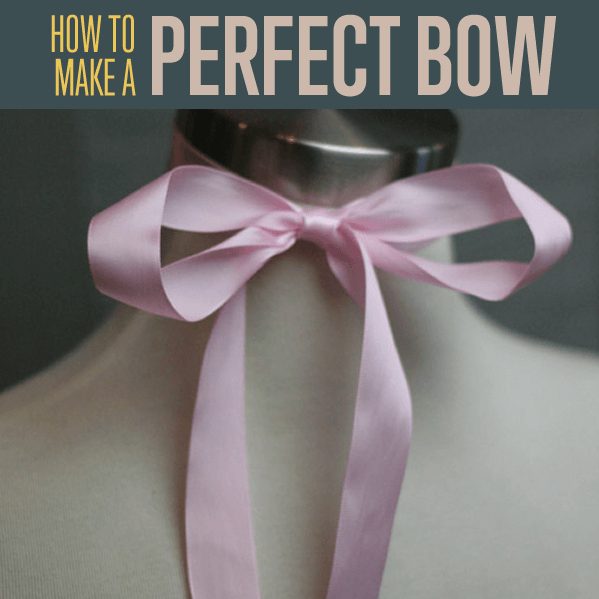
Introduction to Bow Tying
how to tie a bow on a dress can elevate your outfit and add a touch of elegance. While a bow may seem simple, mastering the technique can enhance your dress’s overall appearance. Whether you have a simple sundress or a formal gown, knowing how to tie a bow effectively is a useful skill.
In this article, we will guide you through the process step-by-step. We will discuss different styles of bows, the materials you’ll need, and tips for achieving the perfect knot. By the end, you’ll be ready to tie a bow that not only looks beautiful but also complements your dress perfectly.
Types of Bows
Classic Bow
How to tie a bow on a dress?The classic bow is a timeless choice that works well on various dresses. It usually consists of two loops with tails hanging down. For a standard look, remember to make the loops equal in size. This type of bow is great for both casual and formal occasions.
To create a classic bow, start by gathering the fabric where you want the bow to sit. This could be at the waist, back, or side of the dress. Make sure the fabric is smooth and free of wrinkles. The next steps involve creating the loops and securing them. The classic bow’s simplicity makes it a popular choice among many.

Double Bow
For those looking to add an extra layer of flair, the double bow is an excellent option. This involves tying two bows on top of each other, resulting in a more voluminous appearance. It’s especially effective for dresses with a wide waistband or a larger silhouette.
When preparing to tie a double bow, be sure to use a longer piece of fabric to accommodate both bows. The extra length helps create a full look. As you tie the bows, keep in mind that they should be evenly proportioned. A double bow is perfect for special occasions, adding a sense of playfulness and charm.
Materials Needed
Suitable Ribbon
The choice of ribbon is essential when tying a bow. Look for materials that are easy to manipulate, like satin, grosgrain, or organza. These fabrics hold their shape well and add a touch of elegance. The color should complement your dress and stand out without overwhelming the overall look.
For a classic look, opt for solid colors or subtle patterns. If you’re going for a more playful vibe, consider bright colors or fun prints. The right ribbon can enhance your dress and set the tone for your outfit. Ensure you have enough length, as this will help achieve the desired bow size.
Dress Preparation
Before tying the bow, preparing the dress is critical. Ensure the area where the bow will sit is clean and smooth. If the dress is wrinkled, consider lightly steaming it to create a polished appearance. Also, ensure that there are no obstructions, like zippers or buttons, in the way.
Position the dress so that you can easily access the area for tying the bow. This might involve turning the dress inside out if you’re working with a lined fabric. Proper preparation helps ensure that the bow not only looks great but also stays securely in place. This attention to detail is vital for a polished finish.
Step-by-Step Guide: Classic Bow
Step 1: Positioning the Fabric
How to tie a bow on a dress?Begin by gathering the fabric where the bow will be tied. If you’re tying it around the waist, pull the dress’ fabric to create a soft fold. Hold the fabric in one hand while using the other hand to obtain the ribbon. This will ensure the bow sits firmly in place.
Ensure the gathered fabric is even on both sides. Having equal proportions will make the bow look balanced. Take your time during this stage; a well-positioned bow enhances the overall aesthetic of the dress. A neat base makes all the difference as you move forward.
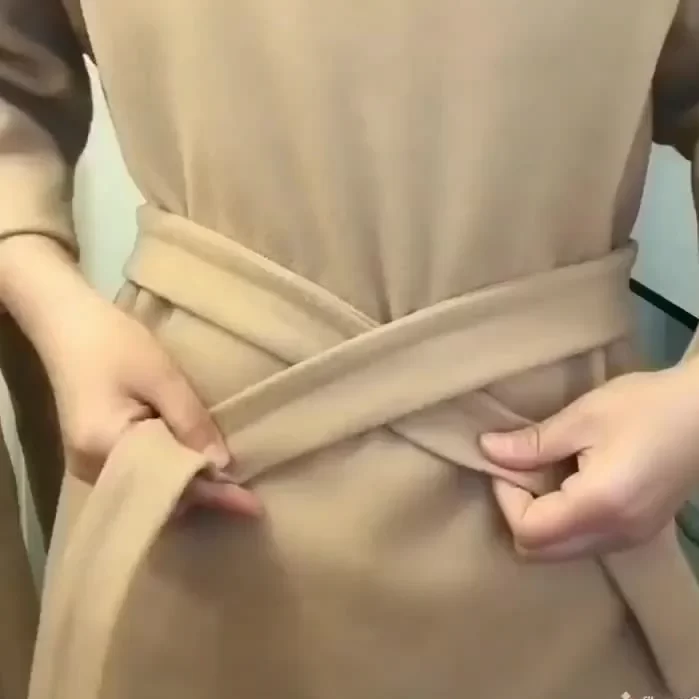
Step 2: Creating the Loops
Now that the fabric is gathered, it’s time to create the loops for the bow. Cross the two ends of the ribbon over each other to form an “X.” Next, take one end of the ribbon and loop it over the other, pulling it through the center of the “X” you created.
This step requires a gentle touch to avoid creating unwanted twists in the ribbon. Pull the ribbon ends tight enough to secure the bow but not so tight that it loses its shape. A well-formed loop will give the bow a polished and refined appearance. Once you’ve created the loops, check the size to ensure they are equal.
Step 3: Securing the Bow
With the loops created, it’s time to secure the bow. Pull the ribbon ends away from the center to tighten the knot. You may need to adjust the loops slightly to ensure they sit evenly. Once you’re satisfied with the shape, give the knot a gentle tug to secure it firmly.
After securing it, fluff the loops to achieve the desired volume. This adjustment makes the bow appear fuller and more inviting. Lastly, let the ends of the ribbon hang gracefully. The tails should be of equal length, adding to the balanced appearance of the bow.
Step-by-Step Guide: Double Bow
Step 1: Preparing the Longer Ribbon
How to tie a bow on a dress?For a double bow, start by cutting a longer piece of ribbon. You will need enough length to create two bows stacked on top of each other. Position the ribbon around the desired area, just as you did for the classic bow, ensuring a smooth, even appearance.
Gather the fabric where you plan to place the bow. Ensure the gathered fabric is secure, and keep a firm hold on it while preparing to create the first bow. This step is critical to ensure that both bows are securely tied in place.
Step 2: Tying the First Bow
Start by tying the first bow in the same way you would create a classic bow. Position the ribbon over the center and create an “X.” Pull one end of the ribbon through the center to form the first loop. Tighten the bow gently and adjust it to create a pleasing shape.
Once you’re satisfied with the first bow, allow the tails of the ribbon to hang down. This will create the foundation for your second bow, as the tails will be used for the next layer. Ensure you maintain balance in both loops as you proceed.
Step 3: Tying the Second Bow
Now it’s time to tie the second bow on top of the first. Using the remaining ribbon from the tails of the first bow, repeat the process to form another “X” and pull one end through to create another loop.
Ensure that the second bow is slightly smaller than the first for a layered effect. Once you have created the second bow, gently pull the tails to tighten it. Finally, adjust both bows to ensure they look harmonious and balanced on the dress. Fluff them gently to achieve that lovely, voluminous appearance that makes double bows so special.
Styling Tips
Choosing the Right Dress
When tying a bow, the style and fit of the dress matter. A fitted dress benefits from a bow at the waist, adding definition. In contrast, a flowing maxi dress can have a bow at the back or side, creating interest and elegance.
Consider the occasion when selecting your dress. A classic bow can elevate casual wear or enhance formal attire. By matching the bow’s position with the dress style, you can create a cohesive and striking look that impresses.
Experimenting with Positioning
Don’t be afraid to experiment with bow positioning. Instead of just tying it at the waist, consider placing it at the back, side, or even on the shoulder. A bow placed unexpectedly can add a unique touch to your outfit and showcase your creativity.
Remember, the beauty of fashion lies in experimentation. Feel free to adjust the bow’s size and position until you find the perfect fit for your dress. This willingness to explore new ideas will enable you to develop a personal style that stands out.
Conclusion
Tying a bow on a dress is a simple yet impactful way to elevate your outfit. Whether you choose a classic or double bow, the technique can enhance the overall style of your dress. By following the step-by-step guide in this article, you’ll be able to tie a variety of bows confidently.
Remember to select the right materials, prepare your dress properly, and experiment with bow positioning. With practice, you’ll not only master these techniques but also discover the joy of personal expression through fashion. Now, go ahead and add that perfect bow to your dress, and watch as it transforms your look!